My Comprehensive Guide to Effective Re-Teaching
This blog post contains my comprehensive guide to effective re-teaching. All of the information found in this blog post can be downloaded in my free printer-friendly Ebook found HERE.
You know that whole-class lesson where every single student immediately gets it and masters the content? Me neither. That’s why effective re-teaching is a must in your classroom. Despite your best efforts to prepare, present, and practice new content with your students, chances are good that some of your students will need additional support and instruction.
As a teacher, you have to then ask, “What does this student need at this moment to get this concept?”
This is when re-teaching becomes necessary.
At its core, re-teaching is about FLEXIBLE INSTRUCTION THAT’S RESPONSIVE TO STUDENT NEEDS.
Re-teaching is not a sign of failure or ineffective instruction. Instead, it is evidence of your ability to differentiate instruction to meet the needs of all your students.
Therefore, it should be an essential tool in your instructional approach. Expect to re-teach, and plan accordingly so you have the time and the resources to do so successfully.

Re-teaching does not mean repeating your lesson for a student who didn’t get it the first time. It definitely doesn’t mean presenting the same lesson again in a louder voice. Re-teaching involves presenting new or previously learned content using a new method or approach.
So what does that new method or approach look like? Well, there is no one-size-fits-all approach — because it’s going to be tailored to what your students need. However, effective re-teaching programs use the same research-based principles.
With an effective re-teaching program, you will:
- break down concepts that are difficult for students
- present the content in a new way
- create learning targets for the students, and assess progress
What is Re-Teaching?
Step #1: Break down standards into learning targets
Break down standards into learning targets so you can target the skills students are struggling with.
If you want to diagnose what is causing a student to struggle with a concept, you need to break the concept down into steps or teachable skills to figure out where he or she is struggling.
For example, after teaching a lesson on inferring, an informal assessment shows that some students can’t infer — but that doesn’t help me know why they can’t infer. However, if I understand which step in the process is causing trouble, I can make that the focus of my re-teaching.
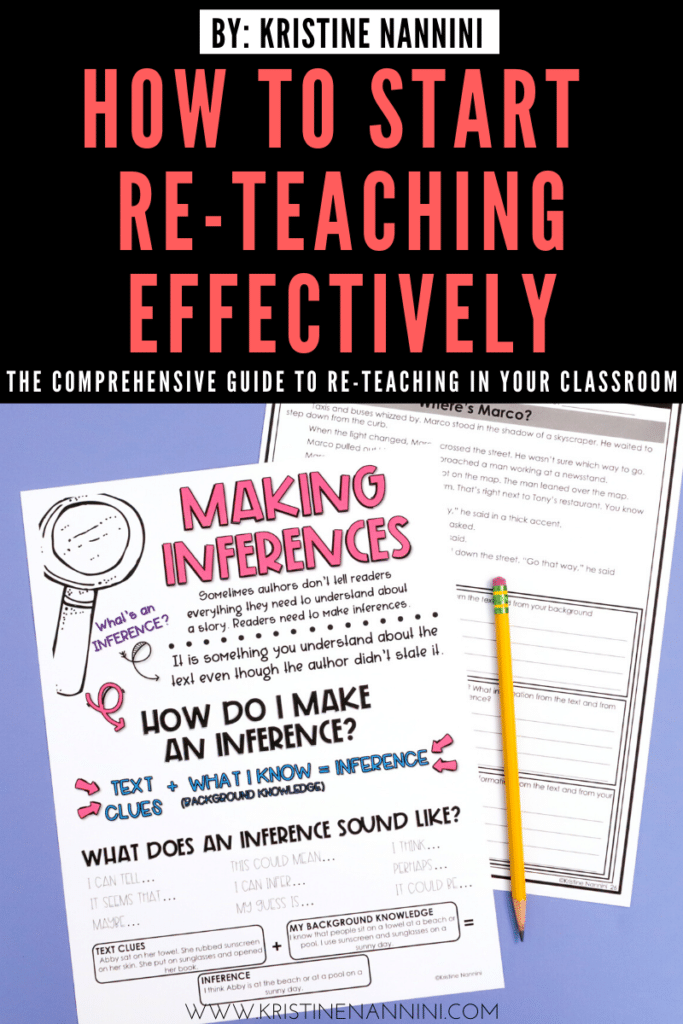
Below is an example of how this works:

The above example in which I unpacked the making inference standard is from my Making Inferences Intervention Resource found HERE. You can see below that each passage has questions that are broken down into these unpacked standards that are teachable skills.

If you look closely at the questions that go with the text, you can see that there are nine short questions that follow this pattern: a clue from the text question –> a background knowledge question –> a make the inference question. This pattern repeats itself three times. The questions are broken down into skills that guide students to make the inference. It will also help you diagnose the issue a student is having with the skill.
Step #2: Diagnose the problem using formative assessment
Formative Assessment: Formative assessment, formative evaluation, formative feedback, or assessment for learning (including diagnostic testing) is a range of formal and informal assessment procedures conducted by teachers during the learning process to modify teaching and learning activities to improve student attainment. [1]
Re-teaching is targeted instruction to address a student’s needs. Assessment will help identify that need. Breaking down the standard into clear, teachable skills means you can create a formative assessment that helps diagnose the skill or concept that’s causing difficulty for students.
There are many formal and informal ways to assess students. Formative assessments can range from students rating their own understanding using hand gestures during whole-class discussion to more formal, written assessments that specifically address each skill.
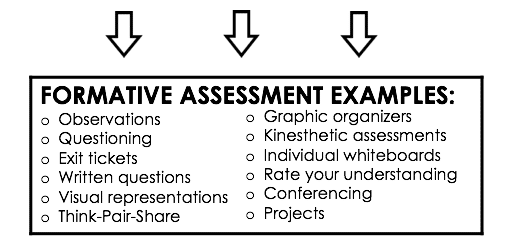
In addition to my differentiated reading passages and questions that are found in my intervention resources, I also include practice questions that are great to use as formative assessments.

In addition to practice questions, I include question stems. These questions stems come in a printable option for teachers or bookmarks for students. You can pass out the question stems as bookmarks for students to use or ask them these questions in a small-group setting. Question stems promote the use of open-ended questions, which incite thought, reflection, and connections. You can choose to ask the questions with the provided passages or with students’ just-right chapter books.

Step #3: Group Students
When teaching your lesson to the whole class, it is very difficult to present the information in a way that’s optimal for every student. Grouping allows you to personalize your instruction in a way that best meets the needs of groups of particular students. In addition, working with small groups of students allows you to monitor students more closely to provide instant and individualized feedback.
Grouping students is really an art form in and of itself. Within the classroom, I tend to first group based on students’ self-reported level of understanding, observations, and other formative assessments. If I can further break apart groups of students who don’t understand the content, I try to group them to address a range of student learning needs, including:
- Varying readiness levels
- English proficiency levels
- Interest and choices
- Learner profiles (e.g., concrete vs. abstract, visual, auditory, kinesthetic, etc.)
Within your group, closely monitor student progress toward learning targets, and make adjustments as necessary. You may find some students are better suited to other groups or could benefit from 1:1 instruction. In any event, use your data to continually monitor progress and respond to student needs.
Step #4: Re-teach with a new approach
As I said earlier, there is no right or wrong way to re-teach as long as you are using data to inform your re-teaching strategy.
However, research has shown the following re-teaching strategies to be highly effective:
1. Small-group or 1:1 instruction
2. Chunking or breaking down tough concepts into smaller chunks
3. Using manipulatives and visual representations
4. Modeling the concepts for students
5. Demonstrating to students how they can show mastery in different ways (oral explanations, graphic organizers, or visual representations vs. written answers)
6. Creating a series of steps or a repeatable strategy that students can apply to master the skill (e.g., Somebody, Wanted, But, So, Then for summaries)
7. Using games, competitions, or tournaments to assess or review key concepts
8. Having students constantly track their own understanding and progress
9. Offering objective-related extension and refinement tasks
10. Creating station teaching to assist with differentiation
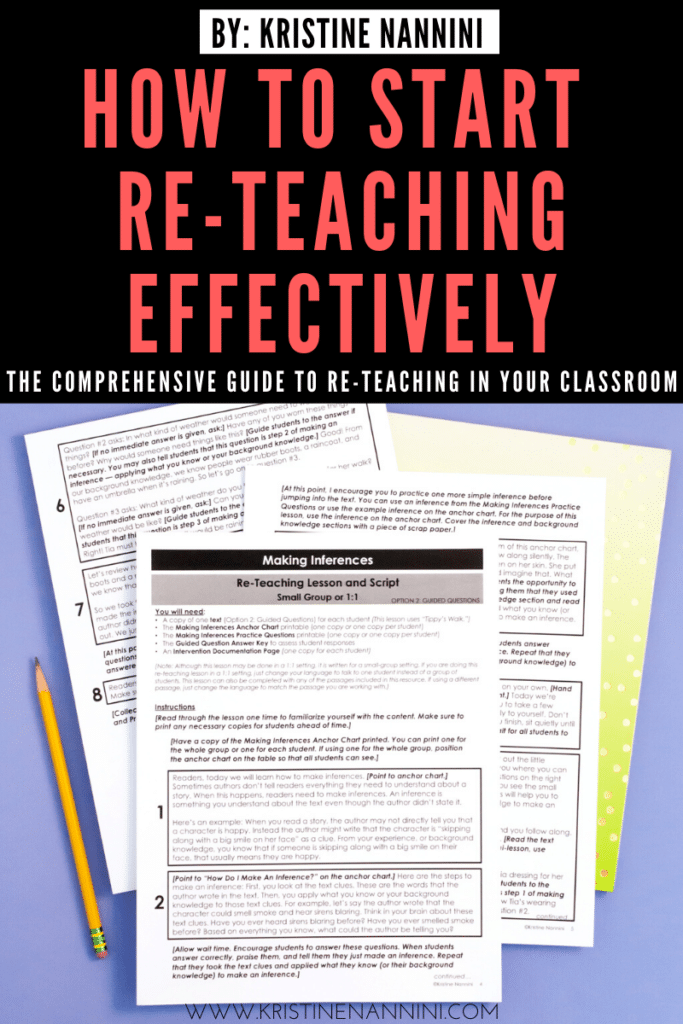
In my intervention resources, I include three different re-teaching lesson plans that can be used with either a small group or with 1:1 instruction. These re-teaching lesson plans include scripts on what the teacher should say, and they also incorporate many of the highly-effective re-teaching strategies listed above. Click HERE to check them out.
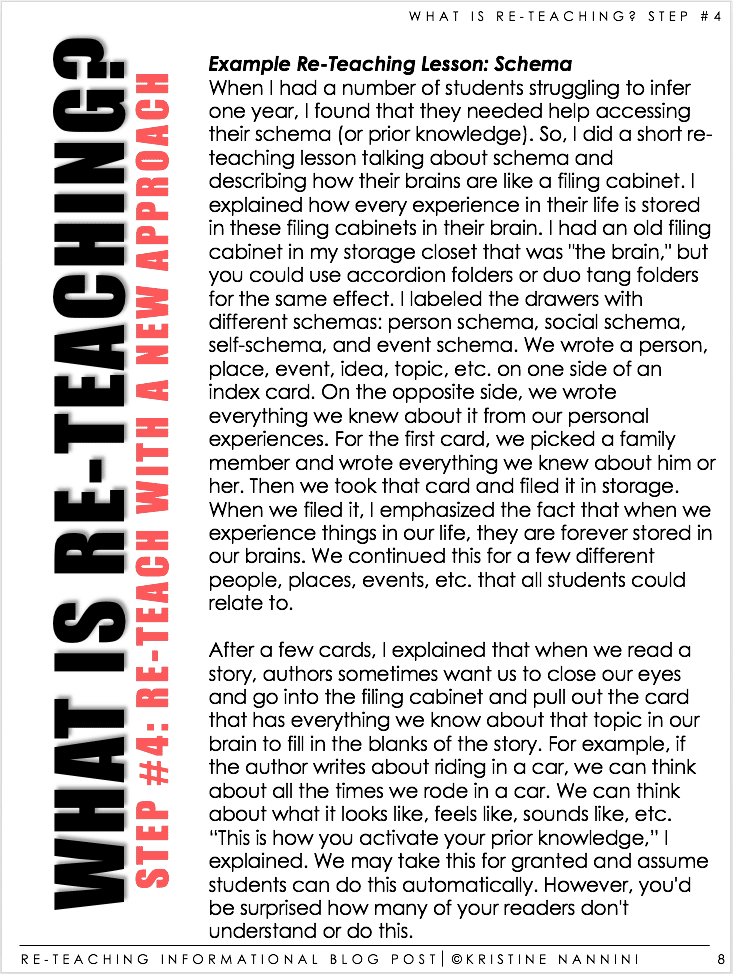
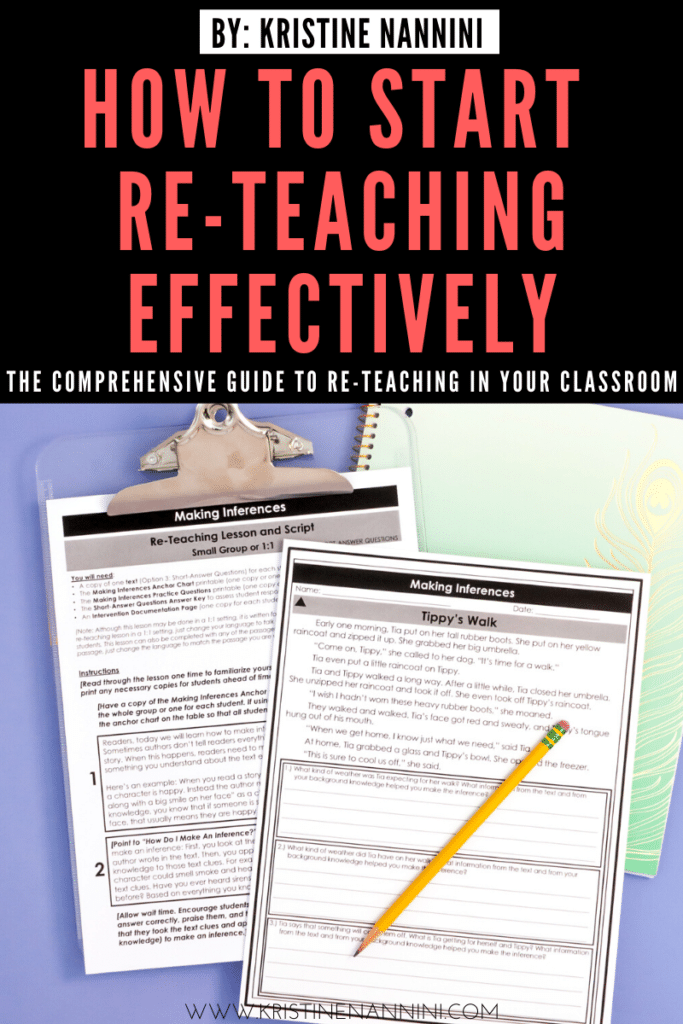
Below is an example of a re-teaching lesson that I include in my free Re-Teaching Ebook found HERE.
Step #5: Creating goals and monitoring progress
Once you’ve identified an area of need, create goals or learning targets for students. Creating goals will help you group students with shared goals, provide students with a focus for the re-teaching or intervention, and provide you with a baseline for progress monitoring.
In my intervention resources, all documentation and progress monitoring is broken down into these goals for you to easily track student progress. The goals are aligned to the passages and questions so that you can see how a student is performing and adjust instruction as necessary.
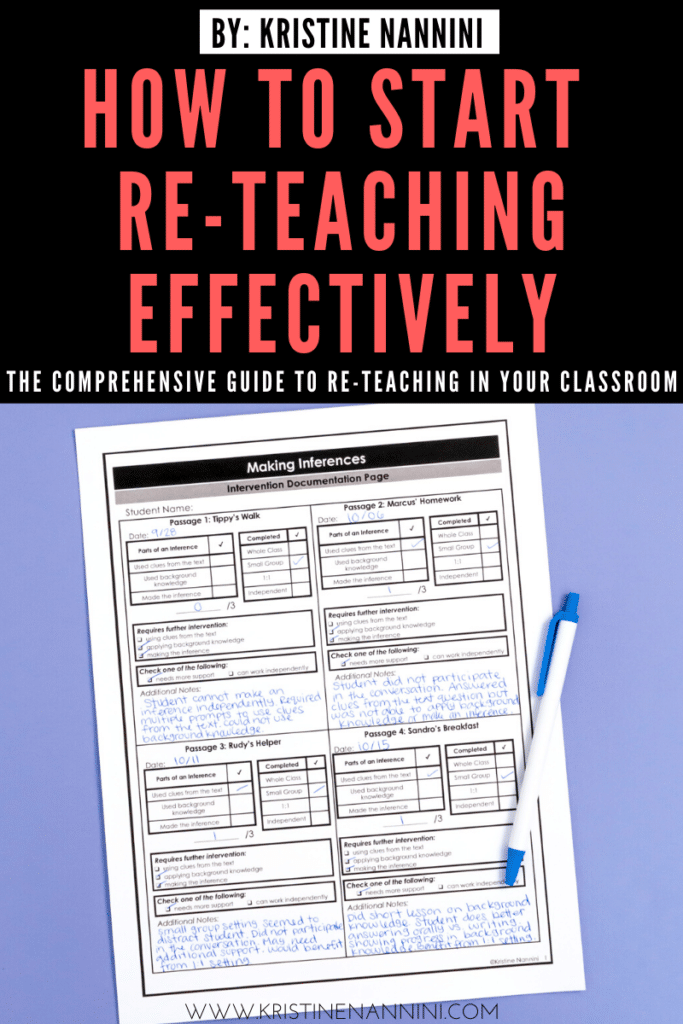
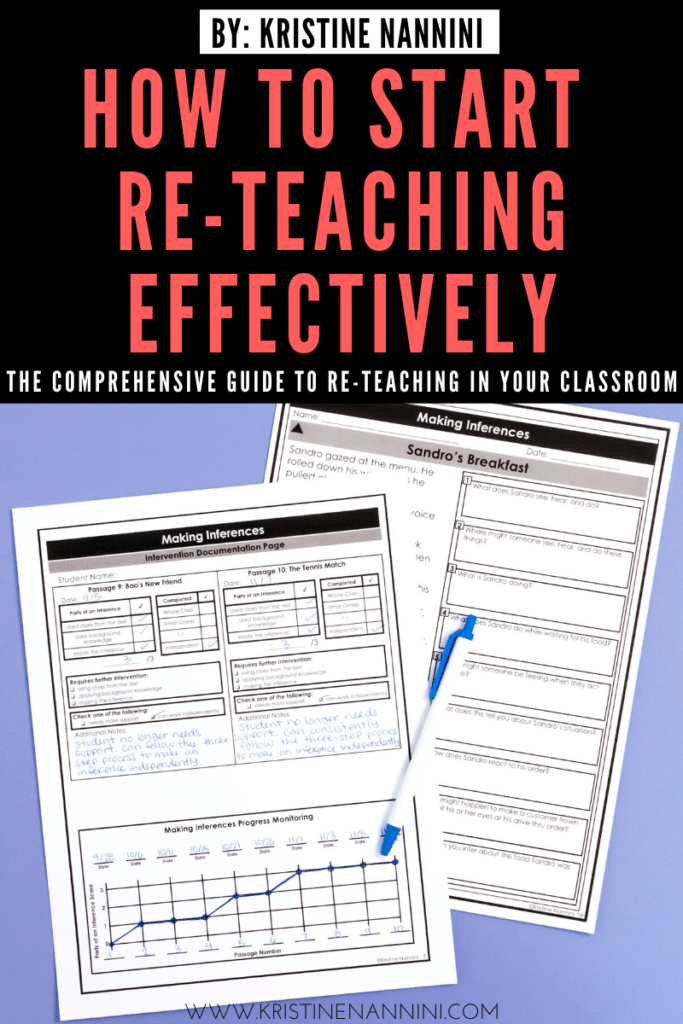
Data should inform all your instruction. Re-teaching is no exception. Progress monitoring will help you make the best decisions for each student and help you figure out how to best use your own instruction time. The feedback will help you to:
- Assess a student’s academic performance
- Quantify his or her rate of improvement toward mastery
- Determine how the student is responding to your re-teaching
To obtain accurate data, you should allow students to show learning in different ways (e.g., oral explanations, graphic organizers, or visual representations).
Who Needs Re-teaching?
The reality is this: your highest and lowest readers might all need re-teaching at some point during the year. One surprise about re-teaching in ELA is that it is often unrelated to reading level. Your strongest readers can have difficulty grasping a concept while those who are reading below grade level could understand it the first time around. You never know.
Here are some important takeaways:
- Start each lesson with a clean slate. Do not make assumptions about students based on past achievement.
- Don’t let students fall through the cracks. Have a system in place to assess and identify students who need extra help.
- Be flexible. Approach each lesson with an open mind and be ready to change your plan, if necessary, to assist those who are struggling.
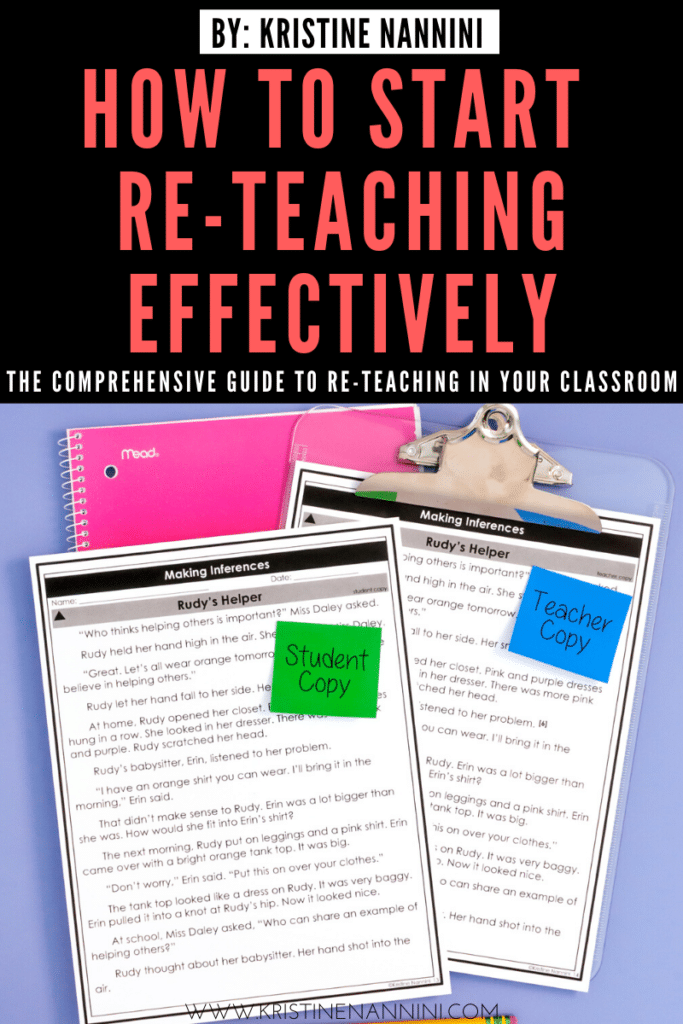
Re-teaching to struggling readers comes with its own set of challenges. It’s important that you re-teach concepts using accessible texts so that the focus is on learning the comprehension skill and not on decoding a text.
That’s I’ve designed my intervention resources with short passages in tight reading level ranges. I’ve leveled these intervention passages at three different reading levels so you can work with students of varying ability on the same content and skill.

When Should You Re-Teach?
Re-teaching should happen any time you find that students need it. You’ll generally identify the need for re-teaching in three common classroom situations.
- Presenting New Content: The first is when you conduct ongoing, informal assessments as you present new content. This might look like a thumbs up/thumbs down to show understanding, using exit tickets after a lesson, or oral questioning. In this situation, it’s best to stop and re-teach immediately when you get a sense that many students don’t “get it.”
- After an Assessment: The second situation that reveals the need to re-teach is after a formative assessment at the end of a lesson or unit. It could be clicker data, written questions, or a piece of writing. Assessments provide hard data about who needs re-teaching of a concept or skill.
- Reviewing Old Content: Teachers often introduce a new topic (e.g., synthesizing) by reviewing necessary supporting skills (e.g., making connections). Sometimes you’ll discover during a review that students have forgotten or never truly grasped the supporting skills. Again, this realization will likely come through informal feedback you gather during instruction.
For these last two situations, re-teaching will normally occur outside of the main lesson as a separate intervention for those who need it.
Re-teaching is a necessary part of the learning process, not a punishment for failing to understand the first time around. Therefore, don’t schedule re-teaching during students’ free time (e.g., recess or after school).
What Does This Look Like In The Classroom?
1. Carve Out Time: You’ll need to meet with students individually or in a small group. While you do so, keep the rest of your class engaged in meaningful learning activities (but not moving ahead with new content in a way that will leave your intervention group behind). If you normally work with small guided groups during reading or writing, this is a perfect time to re-group your students so those in need of re-teaching of a particular skill are together in a group. Another good time is during learning stations or centers. If you have a reading teacher or aide in your classroom during part of the day, he or she can meet with a group of students to provide assistance or enrichment while you meet with your intervention group uninterrupted.
2. Set Up Space: Meet with your group at a small work table or group of desks. Keep this space consistent so that students can transition quickly without wasting instruction time. I like to work at a table at the back of the classroom so that I can see the whole class, yet we do not interrupt other students who are working. Position your seat so that you can see the entire class, and position the seat in your small group away from the class to eliminate distractions. Additionally, I recommend keeping an easel with chart paper or a small dry-erase board in your small group area so that you can easily model or create or use visual aids. If you use my intervention resources, I include skill-specific anchor charts that you can use while you re-teach.
3. Choose Materials One of the most important decisions when it comes to re-teaching is what content to use. Suppose you’ve gathered a few students who are struggling to use context clues to determine unfamiliar vocabulary. You’ll need to work with them through a text that has some unfamiliar vocabulary as well as solid context clues. You should texts leveled to their reading ability. Also, pick texts that are short enough to use in a small-group meeting. It should be engaging and build upon familiar background knowledge of content and structure. Good places to find these resources include your school’s leveled library, examples pulled from your whole-class novels, or short differentiated reading passages that specifically target the skill. If you’re struggling to find resources for a particular skill, I have differentiated intervention resources that target specific reading skills.
With my intervention resources, I give teachers a targeted resource that checks all those boxes. Each skill (making inferences, characters, summarizing, etc.) includes ten differentiated passage sets at three different levels, re-teaching lesson plans with scripts, and so much more. This will give you plenty of content to support your re-teaching.


4. Re-Teach: So you’ve got your group, your time, your space, and even your text. Now what do you do? What strategies will you use to re-teach the skill in a new way to ensure students will understand this time? You may want to re-teach your whole-group lesson but simplify it for this small group. You may want to take an entirely different approach and break down the standard further for them.
5. Assess Student Progress: Assessing student progress is an essential part of re-teaching. It also serves another purpose. Regular, on-going assessment will help you determine how a student is responding to a specific type of instruction or intervention strategy. The frequent feedback will show you if you need to modify your re-teaching strategy to meet students’ needs.

Before any re-teaching happens, you should have a documentation/data page that allows you to easily document student performance during your re-teaching lesson. For example, if student performance is tied to oral response, make sure your documentation page allows for quick markings and leaves room for observation notes so that you can quickly jot down necessary notes. If you have a written assessment that breaks out the skills, make sure you have a documentation page that matches the assessment. In the end, have a documentation page that fits your assessment/re-teaching strategy. If you would like to see how I developed my Documentation and Progress Monitoring system in my intervention resource, you can click HERE to scroll check it out.

The resource found in the photographs from this blog post are from my Making Inferences Intervention resource found HERE.
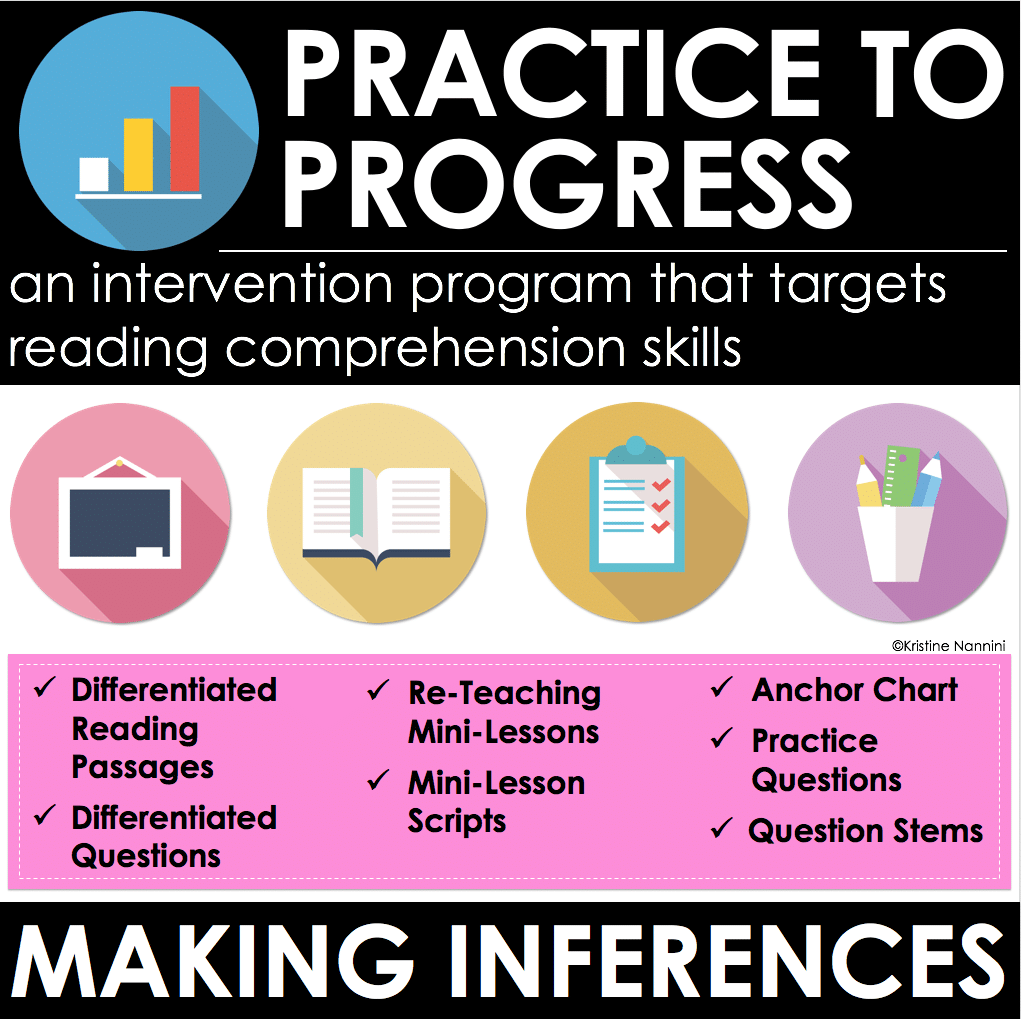
Please also see the other intervention resources I have HERE.

Click HERE to access all of the information from above in my FREE Ebook.

Sources:
[1] Crooks, T. (2001). “The Validity of Formative Assessments”. British Educational Research Association Annual Conference, University of Leeds, September 13–15, 2001.





Thank you for sharing the nice post, it helps me a lot.
You’re welcome!
Are you creating any more of the intervention Practice to Progress?
Hi Hope- I hope to! Make sure you follow my store to receive an email notification when I release more. Thanks!