How to Teach Editing and Revising to Students
I’m here to share my step-by-step guide on how to teach editing and revising to your students. Editing and revising skills can be so tedious to teach and practice – but there is simply no better way to strengthen students’ writing skills than with editing and revising practice. Grab my free EBook on Editing and Revising to help elevate your writers. Click HERE to grab it or scroll down to the end of this post.
Explicitly teaching editing and revising is essential because they play distinct yet complementary roles in developing strong writing skills. First, editing helps students learn to pay close attention to details, like fixing grammar and spelling mistakes, that are crucial for clear writing. This skill is important not only for clear and efficient writing but also for effective communication in various contexts. Additionally, teaching revising encourages students to think critically about the substance and structure of their writing.
When you explicitly teach revising skills to your students, you empower them to refine their ideas, organize their thoughts logically, and enhance overall clarity. By teaching both editing and revising, we equip students with the tools to produce not just technically accurate but also well-crafted, meaningful written work, preparing them for success in academics and beyond.
In this eBook, I will walk you through my process of explicitly teaching students how to edit and revise their writing. I suggest you carve out time to teach these skills like you would any other unit (over the course of at least one week).
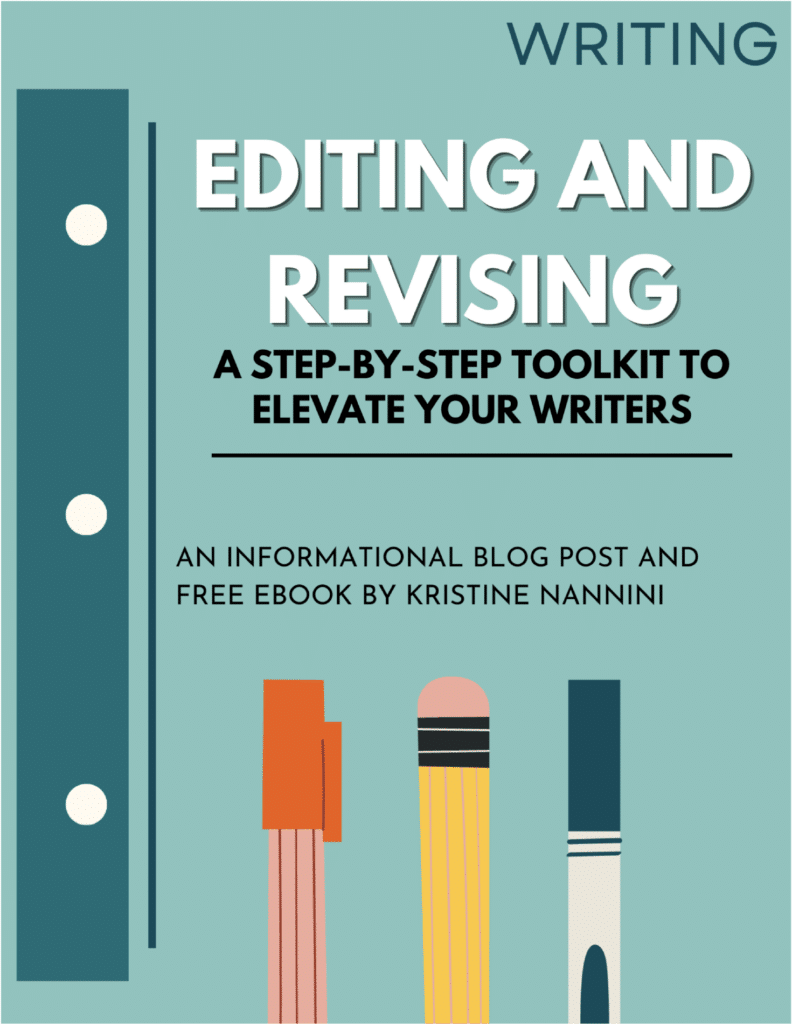
I created a free video you can use to teach your class how to edit and revise. This video shares the slides from my Editing and Revising Teaching Slides resource you can find HERE. Grab the slides and post this video to teach your students, or you can grab the slides and project them onto your board to teach your class the steps yourself. The steps on the next pages are highlighted on the slides in this resource.
How to Edit
Say to students: Editing is a very important part of the writing process. Editing your work is the final step before publishing. It is your chance to look back over your piece and correct any mistakes. Editing is the step where you can make sure that your writing is as good as it can be before sharing it with your readers.
Below is the 6-step process for how to teach editing:

1. Start with clear guidelines when editing
Before diving into editing practice, provide your students with clear guidelines and objectives. Explain that there are four main edits you will focus on:
- Punctuation
- Capitalization
- Sense
- Spelling
*At this step, write each main edit on an anchor chart so students can use the anchor chart as a reference throughout your unit. See how I set up my anchor charts below. All of the information on the anchor chart can be found in my Step-by-Step Editing and Revising Teaching Slides found HERE.


2. Explicitly teach each of the four main edits separately
Say to students: When you edit for these, you can use special marks to show what type of edit you need to make.
Editing can be overwhelming when attempting to address all aspects at once. Encourage your students to focus on one aspect at a time, such as punctuation or capitalization, before moving on to others. This methodical approach allows for more thorough and effective editing.
*At this step, you will address the details under each main edit on the anchor chart. You can find all the teaching points in this resource HERE.

Editing and Revising Teaching Slides
3. Edit sample pieces together as a class.
At this point, project sample writing pieces onto the board for students to see. Go through and edit the piece while talking out loud. Talk about the four edits that you are focusing on while also talking about the marks needed to edit (which are found in the teaching slides).
Here are your options for projecting sample writing pieces onto the board:
1.) Editing Interactive Student Practice Slides: This digital resource includes interactive slides with movable parts for students to practice editing and revising.
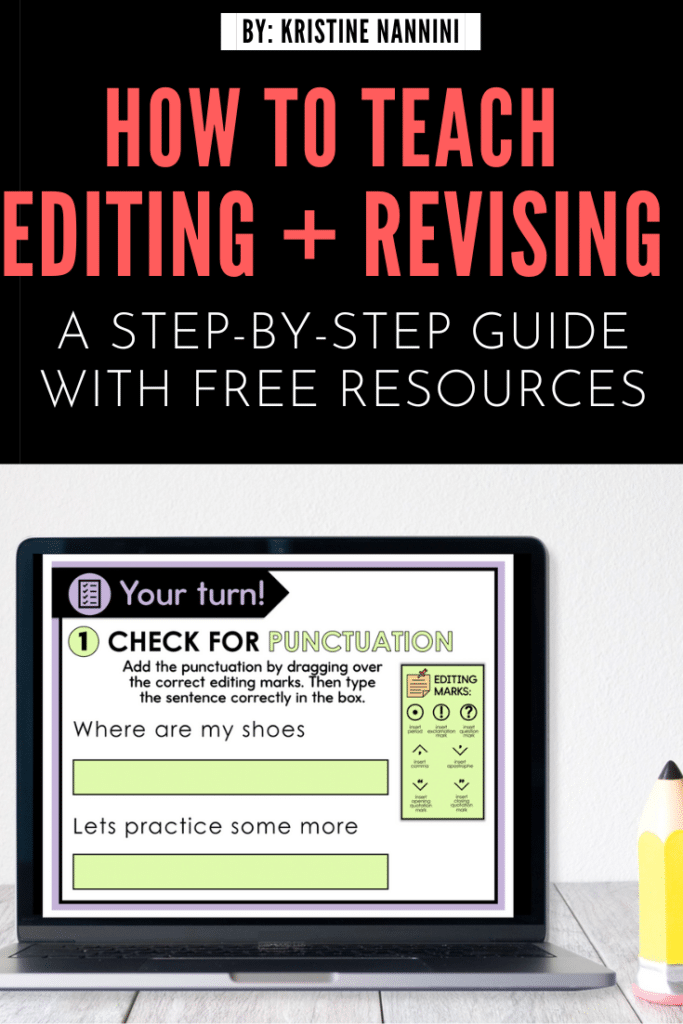
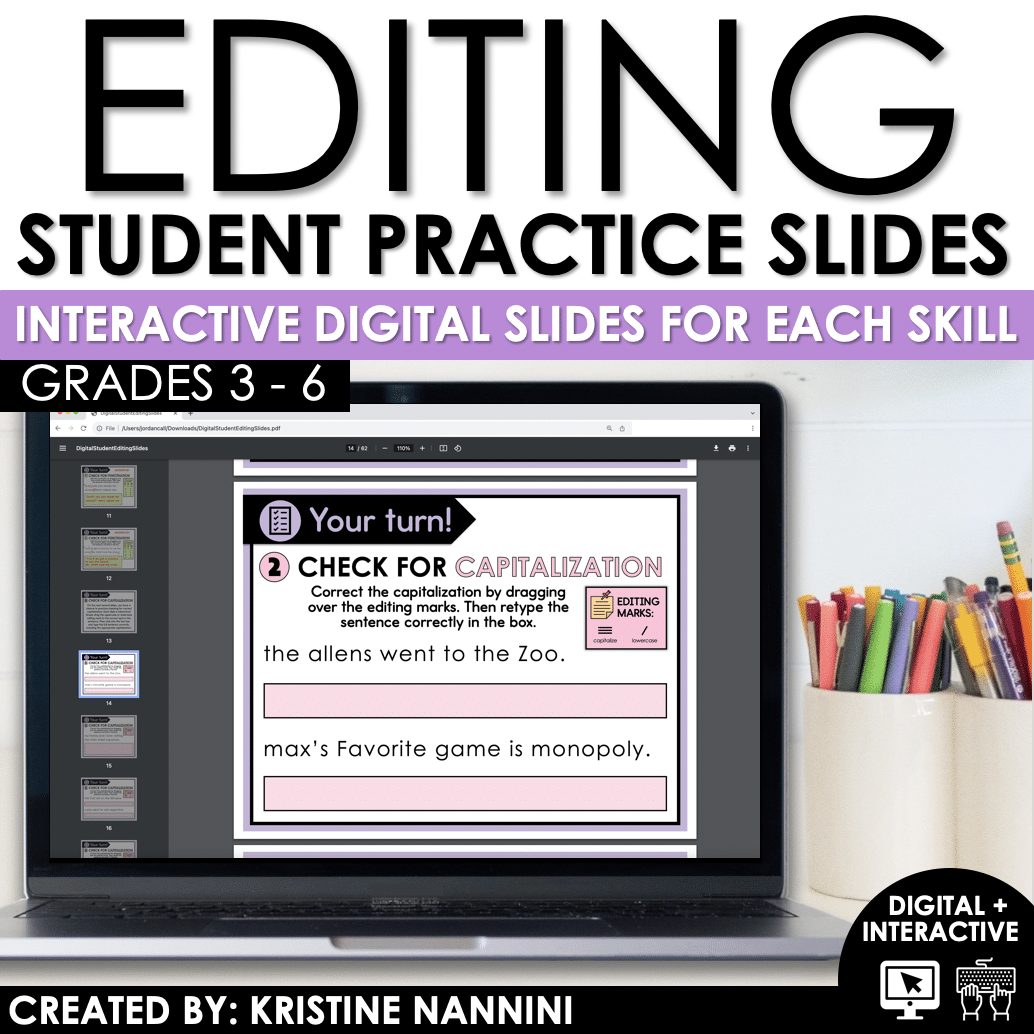
Editing Interactive Student Practice Slides
4. Edit sample pieces on their own
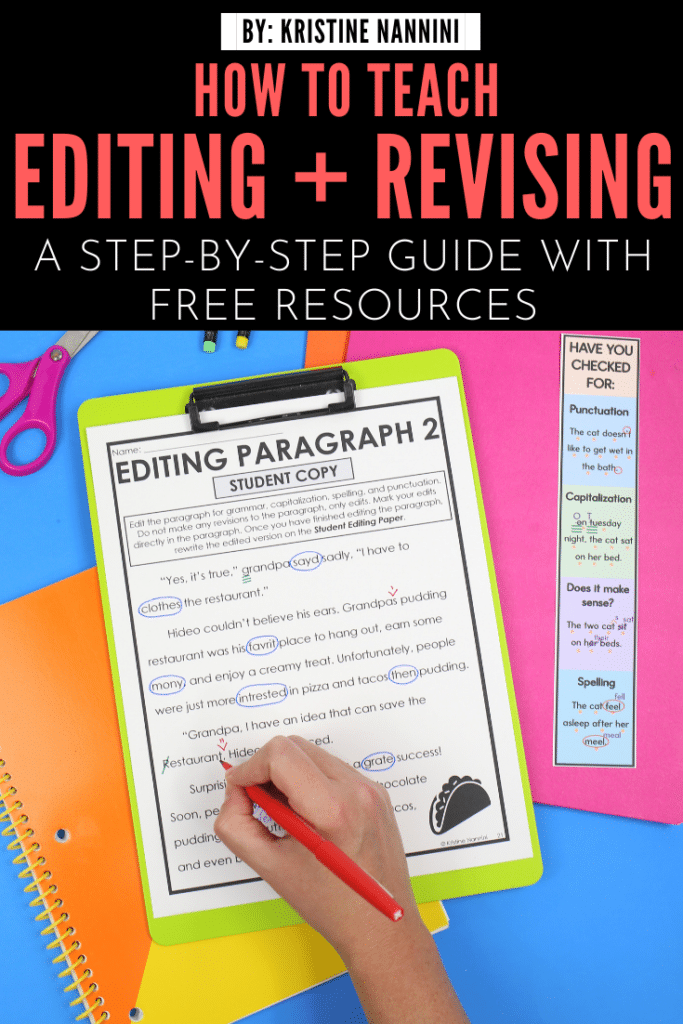
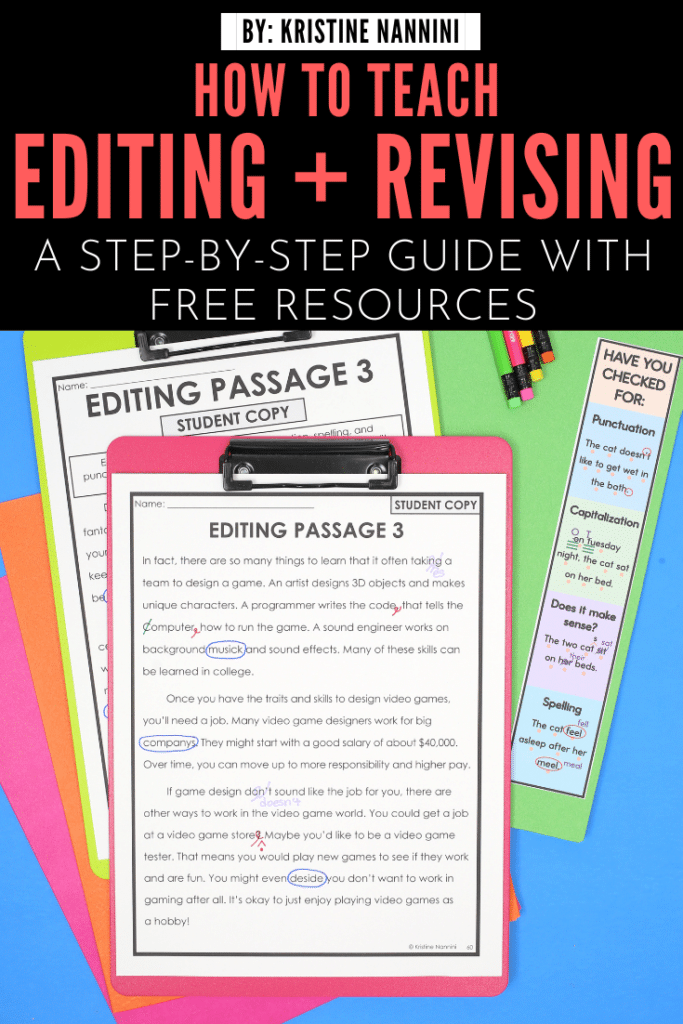
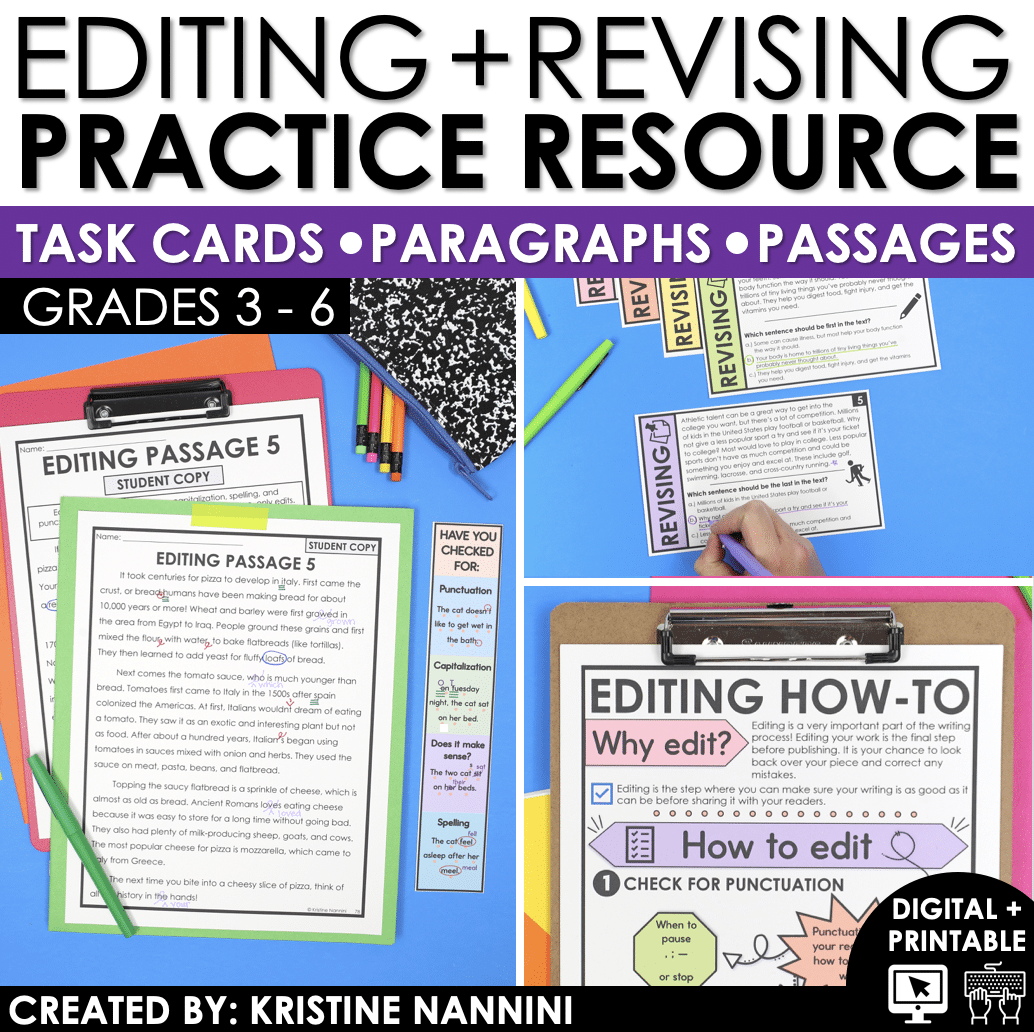
The gradual release of responsibility is important so that, when ready, students get the opportunity to apply what they’ve learned as they practice on their own. The pictures below and on the next pages are from this Editing and Revising Practice Resource. It includes task cards, paragraphs, and passages for students to edit.
Begin by using task cards with students. Once students are confident and ready to progress, move into paragraphs and passages. It can be tough to find writing samples for students to use to practice editing. With this resource, all students can practice with the same examples.
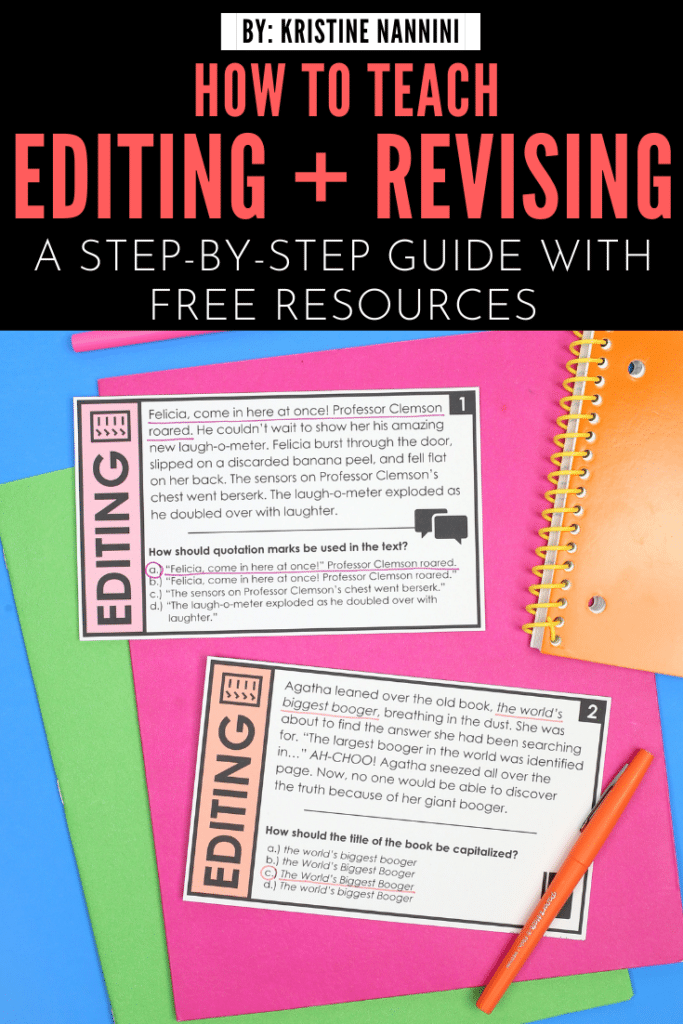
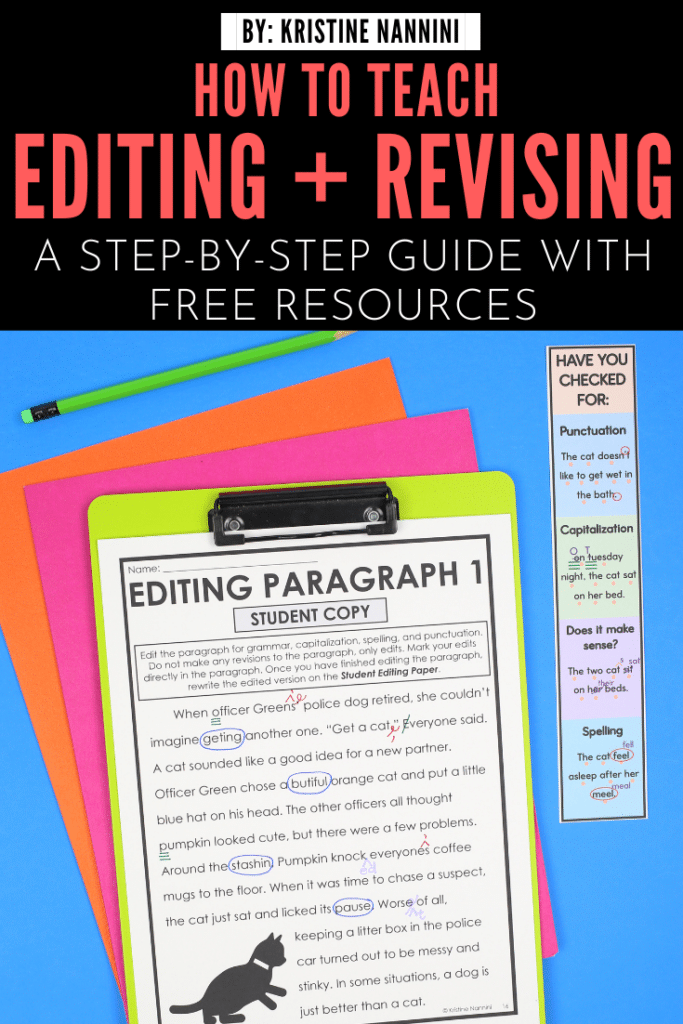
Editing and Revising Practice Resource
5. Editing their own writing
Teach your students the importance of self-editing. Encourage them to review their work independently after completing a writing task. Emphasize the value of taking a break between writing and editing to approach the text with a fresh perspective.
Encourage students to read their work aloud; this can help identify awkward phrasing and errors.
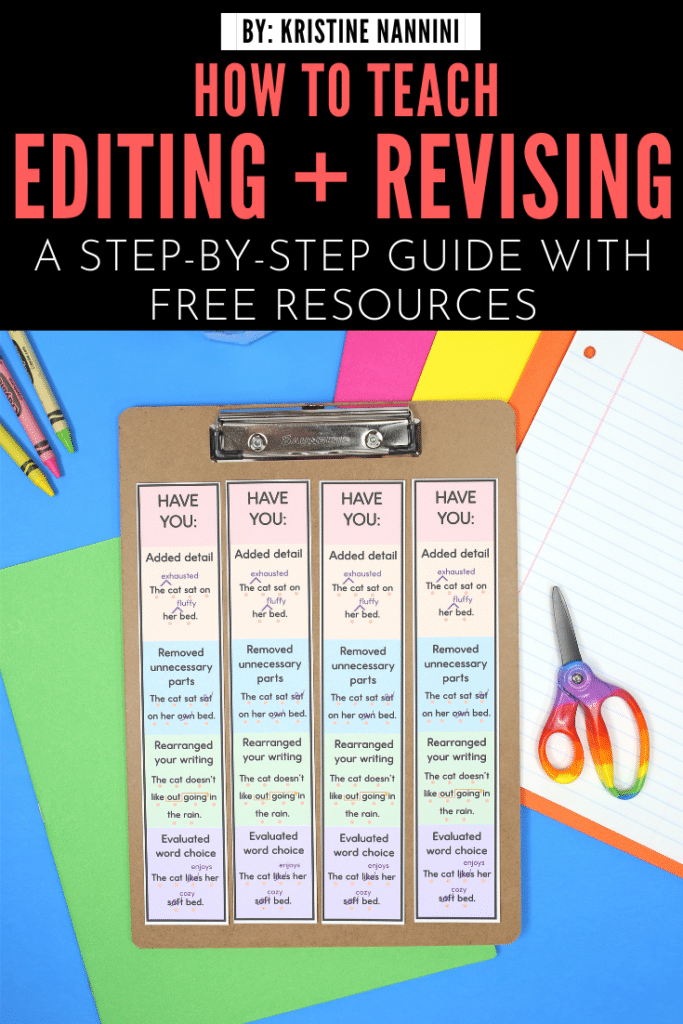
Hand out these bookmarks found HERE to help students edit their own work.
6. Editing with a peer
Peer review sessions are a powerful way to enhance editing skills. Encourage students to exchange their work with a classmate for feedback. Provide a structured format for giving and receiving constructive feedback. This not only offers fresh perspectives but also promotes collaboration and communication skills.
Peer Editing Format
Managing a peer editing format for elementary students is crucial to ensure the process is productive and positive. Here’s a framework to follow:
1. Introduction and Explanation:
Begin by explaining the purpose of peer editing to your students. Emphasize that it’s a helpful and respectful process meant to improve their writing skills. Use simple language and examples they can relate to.
2. Peer Editing Groups:
Divide students into pairs or small groups for the peer editing activity. You can consider mixing students of different abilities to provide a balanced learning experience.
3. Selecting Writing Pieces:
Provide clear instructions on what type of writing piece the students will be editing. Ensure that it aligns with the curriculum and the skills you want them to develop.
4. Peer Editing Checklist:
Distribute the peer editing checklists (CLICK HERE to grab this checklist) to each student. Explain how to fill out the checklist, and emphasize the importance of being constructive and respectful in their feedback.
5. Model the Process:
Demonstrate the peer editing process with a sample writing piece. Model how to provide positive feedback, suggest improvements, and use the editing symbols or different color pens/pencils. Use this time to establish clear guidelines for behavior during the peer editing session. Encourage students to ask questions if they don’t understand something, and remind them to use kind and helpful words.
6. Time Management:
Set a time limit for the peer editing session to keep students focused. For example, you might allocate 15 minutes for editing, depending on the grade level and complexity of the writing.
7. Circulate and Assist:
During the peer editing session, walk around the classroom to monitor progress. Offer assistance when needed, especially if students are struggling with the editing process or misunderstand the instructions.
8. Peer Sharing and Feedback:
After the peer editing session, encourage each student to share one positive aspect of their partner’s writing with the whole class. This fosters a supportive learning environment.
9. Author’s Reflection:
Give the authors some time to reflect on the feedback they received and how they plan to use it to improve their writing. This reflection can be in the form of a brief written response.
10. Editing and Submission:
Once the peer editing process is complete, allow students time to edit their writing based on the feedback they received. Encourage them to make improvements.
11. Follow-Up and Discussion:
After the peer editing activity, hold a class discussion about the experience. Ask students what they learned and how they can apply this feedback to future writing assignments.

How to Revise
Say to students: Revising your work is a key part of the writing process. It is your chance to look back over your piece and make it even better. This step is where you can add details, remove unnecessary parts, and rearrange your writing.
Below is the 7-step process for how to teach editing:

1. Clarify the Purpose of Revision
Before diving into revision, it’s important to clarify its purpose. While editing focuses on correcting errors, revising is about improving the content, structure, and overall clarity of a piece. Stress that revising is a dynamic process that may involve significant changes to the text.
2. Communicate clear guidelines when revising
Before diving into revising practice, provide your students with clear guidelines and objectives. Explain that there are four main revisions you will focus on:
- Adding details
- Removing unnecessary parts
- Rearranging parts
- Evaluating word choice
*At this step, write each main revision on an anchor chart so students can use the anchor chart as a reference throughout your unit. See how I set up my anchor charts below. All of the information on the anchor chart can be found in my Step-by-Step Editing and Revising Teaching Slides found HERE.
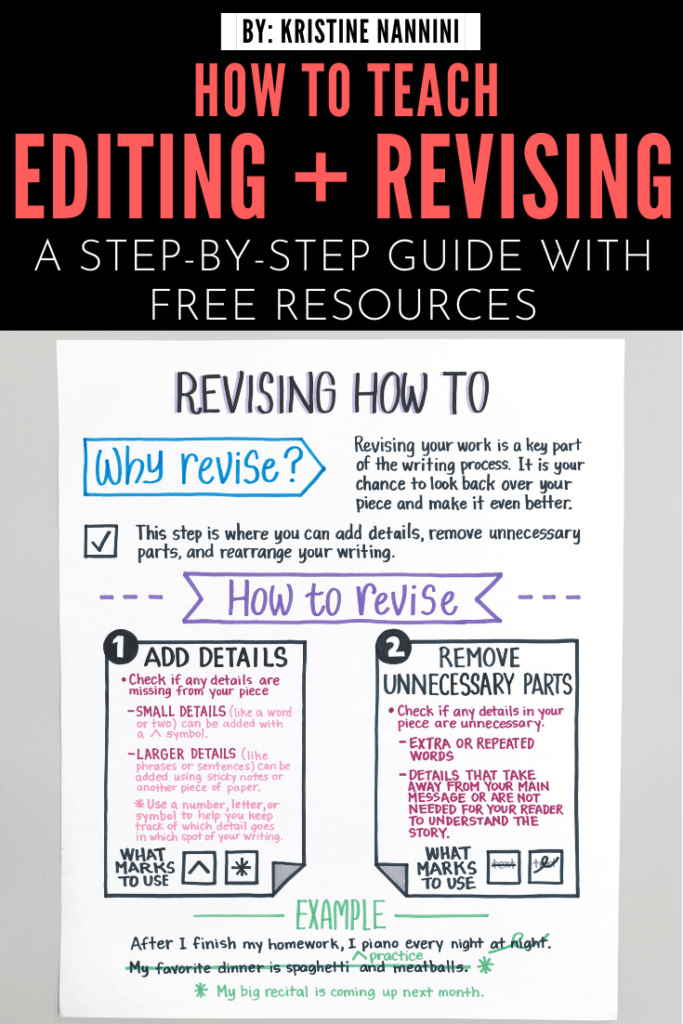

3. Explicitly teach each of the four main revisions separately
Say to students: When you revise for these, you can use special marks to show what type of revision you need to make.
Revising often involves rewriting and refining sentences, paragraphs, or entire sections to enhance clarity, coherence, and impact. Encourage your students to focus on one aspect at a time, such as adding details and rearranging parts, before moving on to others. This methodical approach allows for more thorough and effective revisions.
*At this step, you will address the details under each main revisions on the anchor chart. You can find all the teaching points in this resource HERE.

Editing and Revising Teaching Slides
4. Revise sample pieces together as a class
At this point, project sample writing pieces onto the board for students to see. Go through and revise the piece while talking out loud. Talk about the four revisions that you are focusing on while also talking about the marks needed to revise (which are found in the teaching slides).
Here are your options for projecting sample writing pieces onto the board:
1.) Revising Interactive Student Practice Slides: This digital resource includes interactive slides with movable parts for students to practice editing and revising.
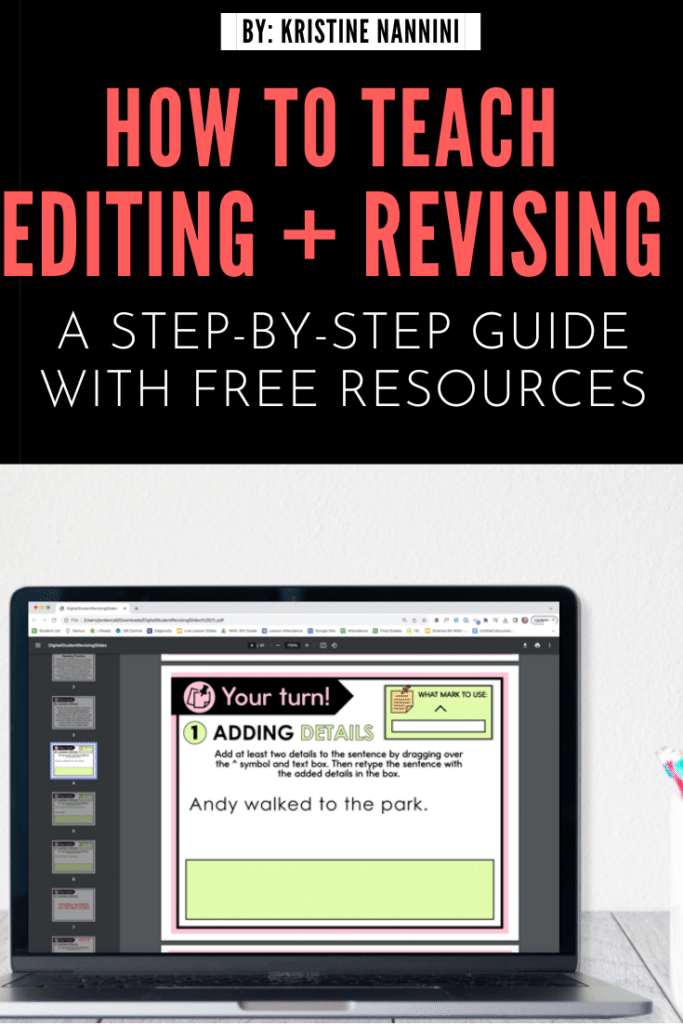
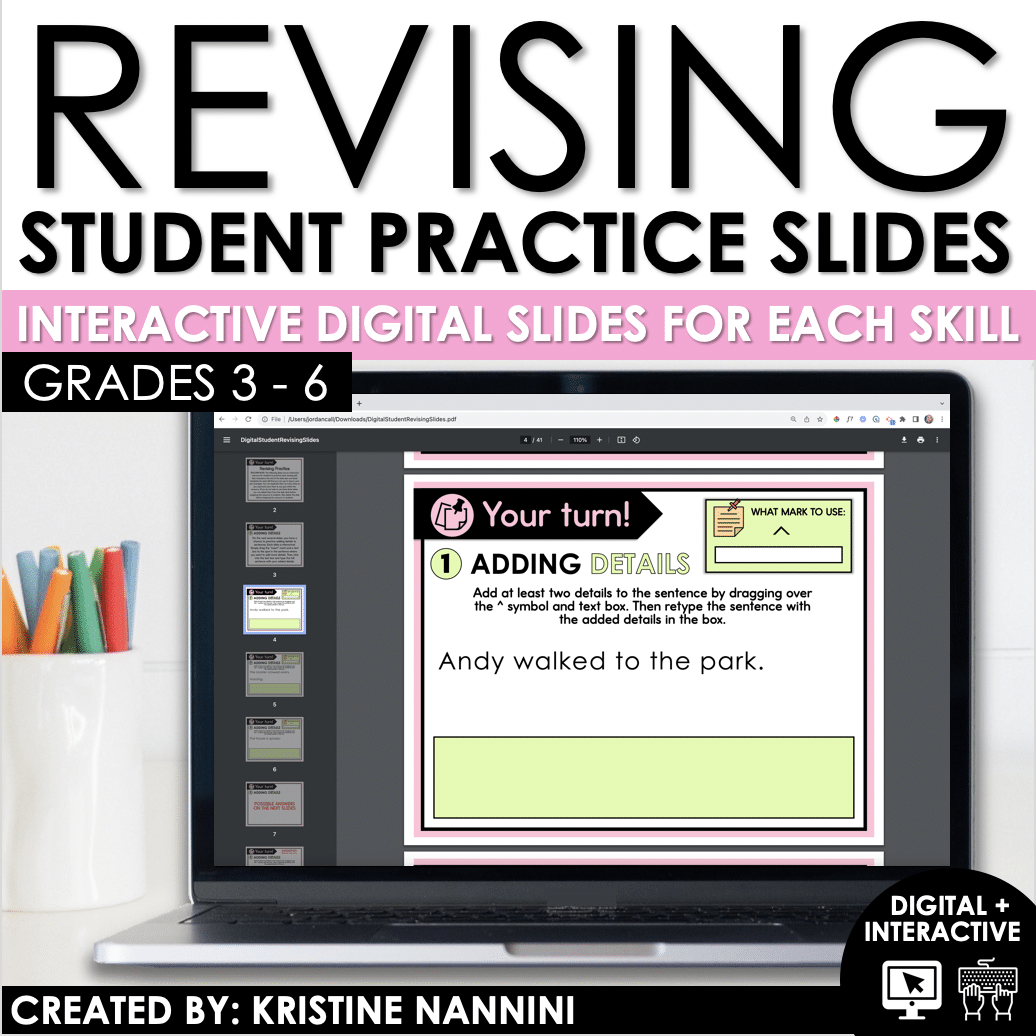
Revising Interactive Student Practice Slides
5. Revise sample pieces on their own
The gradual release of responsibility is important so that, when ready, students get the opportunity to apply what they’ve learned as they practice on their own.
Begin by using task cards with students. Once students are confident and ready to progress, move into paragraphs and passages. It can be tough to find writing samples for students to use to practice revising. With this resource, all students can practice with the same examples.
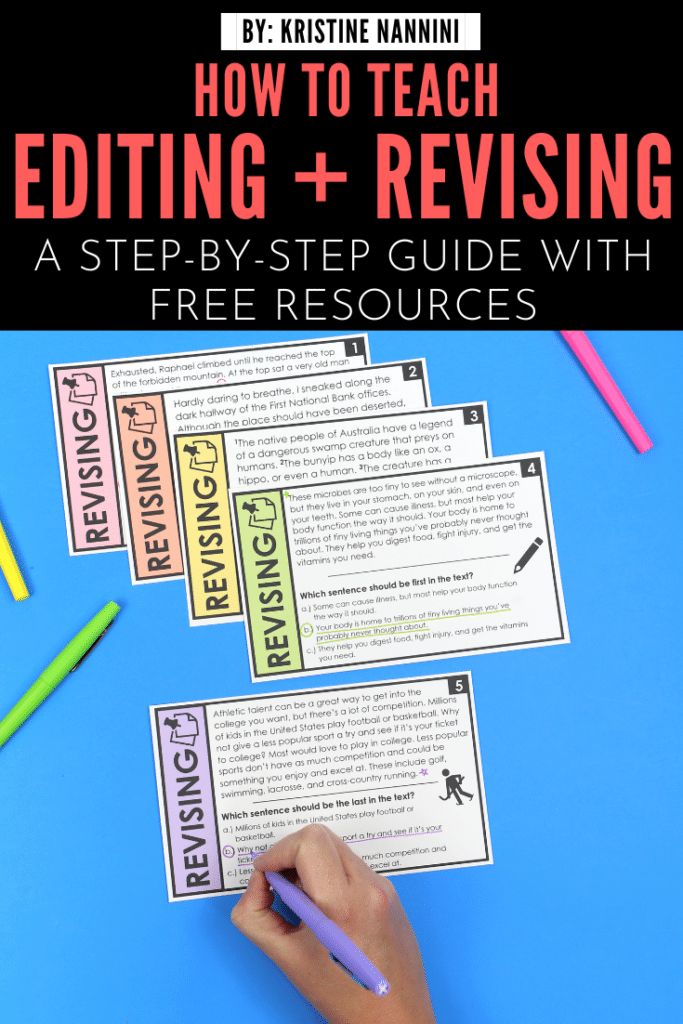
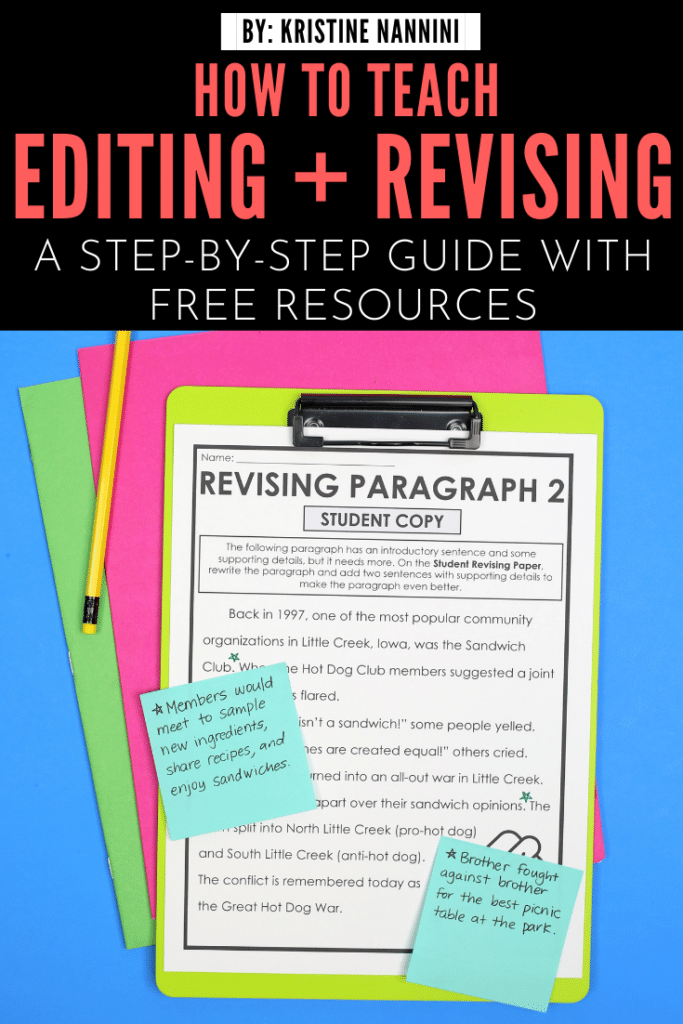
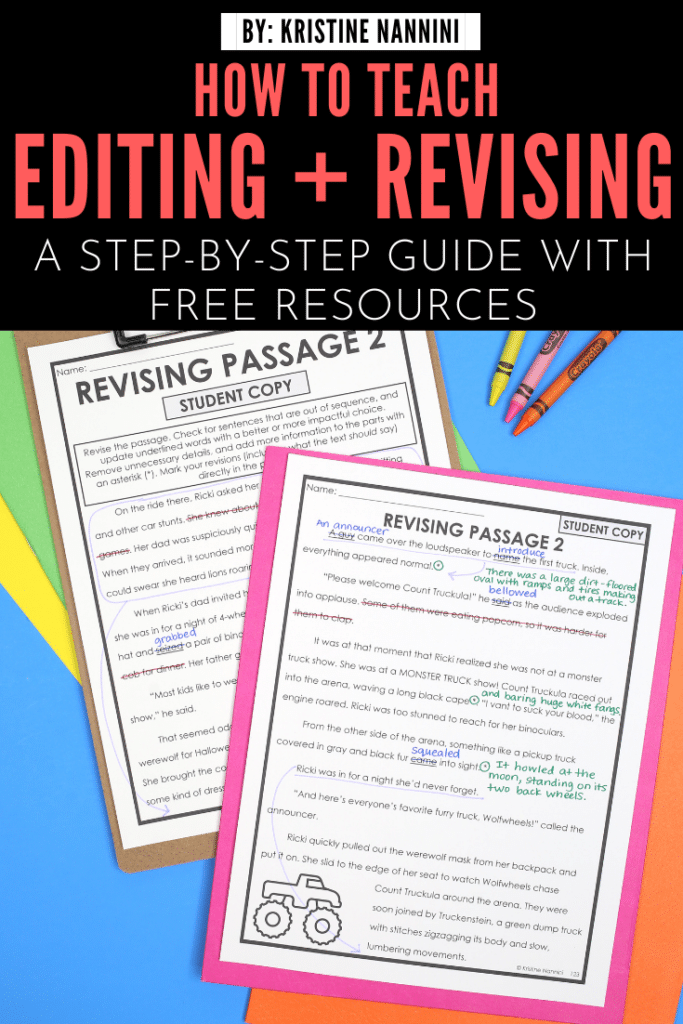
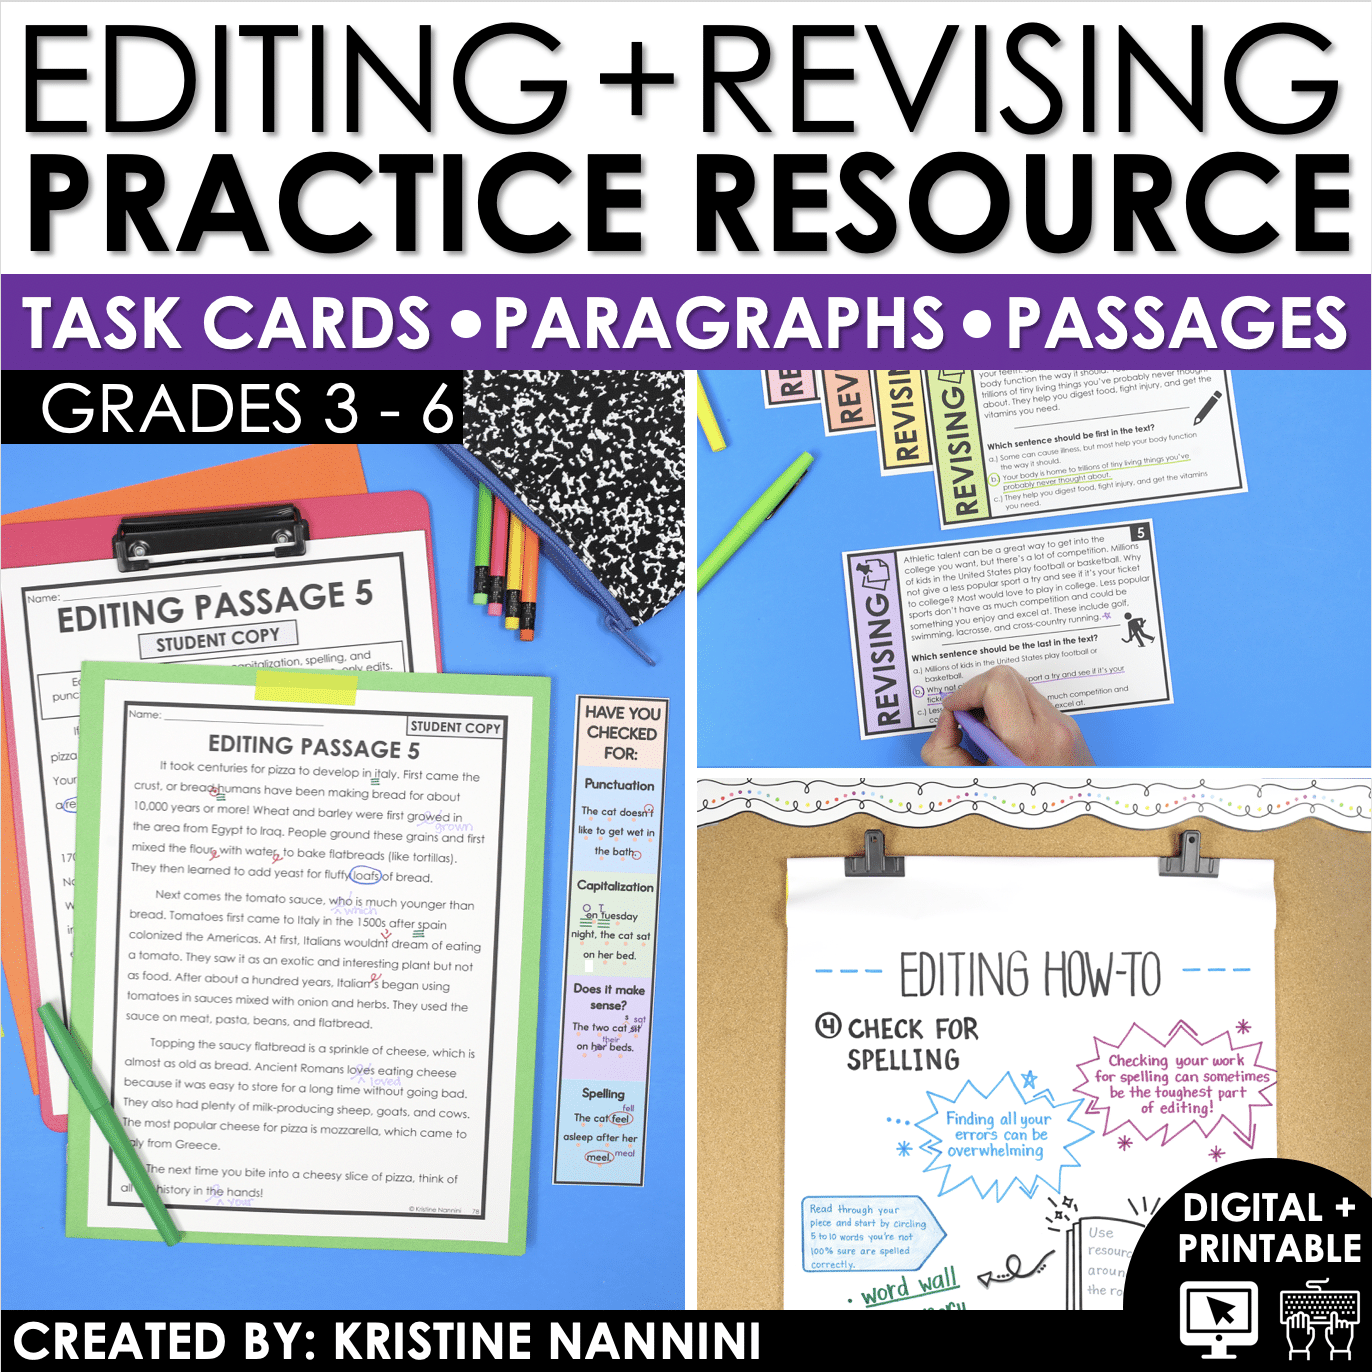
Editing and Revising Practice Resource
6. Revising their own writing
Remember, help your students understand that revision is an iterative process. They should be willing to make multiple revisions as they refine their work. Encourage them not to settle for the first draft but to strive for continuous improvement.
Encourage students to read their work aloud; this can help identify awkward phrasing and errors.
Hand out these bookmarks found HERE to help students revise their own work.

7. Revising with a peer
Peer review sessions are a powerful way to enhance editing skills. Encourage students to exchange their work with a classmate for feedback. Provide a structured format for giving and receiving constructive feedback. This not only offers fresh perspectives but also promotes collaboration and communication skills.
The Peer Revising Format can follow the same format as above with editing. Scroll up to read about the process there.

All of the information in this blog post can be found in my FREE Editing and Revising Ebook. Opt in below to have it emailed directly to you.
